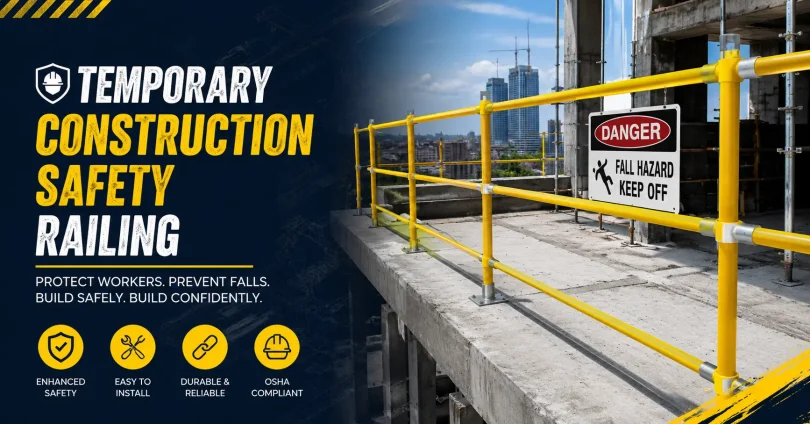

Falls remain the number one cause of death on construction sites in the United States. Most of those falls happen from heights that a properly installed guardrail could have prevented. That single fact is why Temporary Construction Safety Railing has become one of the most important pieces of equipment on any active job site.
This guide walks through what temporary safety railing actually is, what OSHA requires, how to choose the right system, and the details that most buying guides leave out, like inspection routines, weather effects, and the real cost of cutting corners. By the end, you will know exactly what to look for before you order or rent a system.
What Is Temporary Construction Safety Railing?
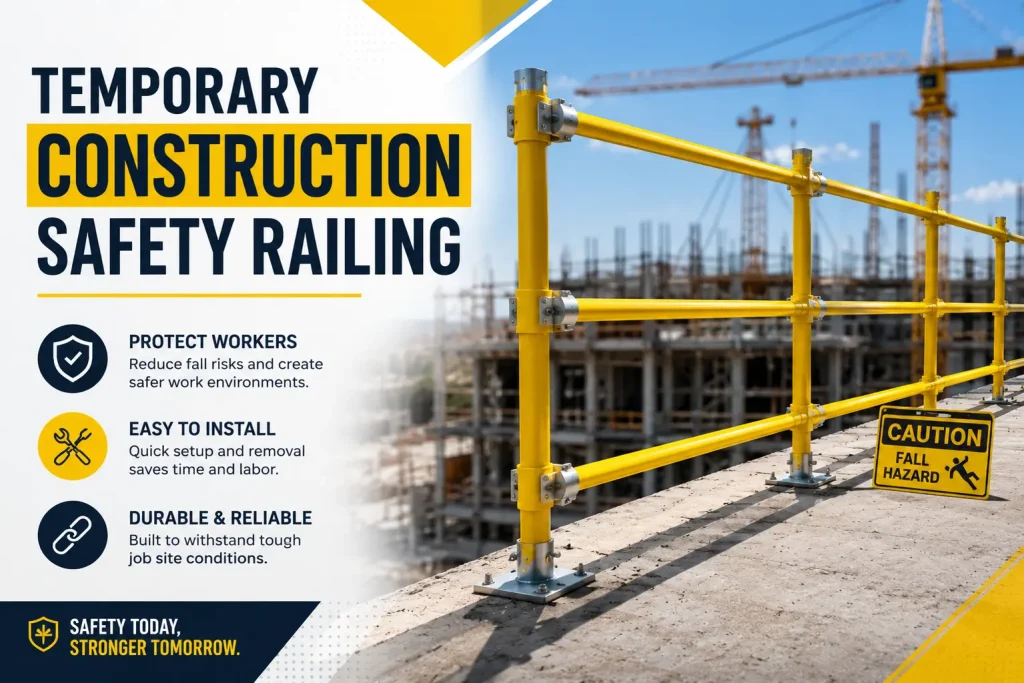
Temporary construction safety railing is a freestanding or anchored barrier system installed along open edges, roof perimeters, floor openings, and other elevated work areas to stop workers from falling. Unlike permanent railing, it is designed to go up fast, come down fast, and move from project to project.
It falls under a category OSHA calls “passive fall protection.” That term matters more than most buyers realize. A harness and lanyard only work if a worker clips in correctly every single time. A guardrail works the moment it is installed and keeps working for everyone on site, including subcontractors, inspectors, and delivery crews who were never trained on your fall protection plan. That is why so many site safety officers treat guardrails as the first line of defense rather than a backup plan.
The Core Components of a Guardrail System
Every compliant system, regardless of brand, is built from the same basic parts:
- Posts or stanchions: Vertical supports that anchor into the structure or sit in a weighted base.
- Top rail: The primary barrier, positioned at the required height.
- Mid-rail: A secondary rail set roughly halfway down, closing the gap a worker could slip through.
- Toeboards: Low barriers at the base that stop tools and debris from falling onto workers below.
- Base plates or ballast: Either bolted connections or weighted feet that hold the system steady without penetrating the surface.
Knowing these parts helps you evaluate any system in minutes. If a supplier’s kit is missing a mid-rail option or has no toeboard accessory, that is a compliance gap you will have to solve yourself later.
What OSHA Actually Requires
OSHA’s fall protection standard, 29 CFR 1926.501, requires protection whenever workers are exposed to a fall of six feet or more on a construction site. Employers must choose one of three options before work begins: guardrails, safety nets, or personal fall arrest systems.
If you choose guardrails, OSHA 1926.502 sets specific, non-negotiable numbers:
| Requirement | OSHA Standard |
|---|---|
| Top rail height | 39 to 45 inches above the walking surface |
| Top rail strength | Withstands 200 pounds of force in any direction |
| Mid-rail strength | Withstands 150 pounds of force in any direction |
| Gap between members | No more than 19 inches |
| Toeboards | Required wherever falling objects are a hazard |
| Surface condition | No rough edges, jagged points, or snag hazards |
A common myth is that 42 inches is a fixed legal requirement. It is not. OSHA gives a range of 39 to 45 inches specifically because job sites are uneven and systems need flexibility to meet the intent of the rule, not just a single number. Manufacturers often market 42 inches as the “standard” because it sits in the middle of that range, which is a smart default, but any height in the band is compliant.
One detail almost every buying guide skips: the standard also states that if the top rail deflects downward under force, it cannot drop below 39 inches. A railing that flexes too much under load can be technically present and still fail an inspection. Ask any supplier for deflection test data, not just a static height spec.
Anchored vs. Freestanding Systems: Which One Fits Your Job?
This is the decision most buyers get wrong, usually because they default to whatever a supplier pushes hardest.
Anchored systems
bolt, clamp, or bracket directly into the structure, whether that is a concrete slab, wood frame, or steel beam. They offer the strongest connection and the smallest footprint, which makes them the go-to choice for active construction where the deck is still under construction and space is tight.
Freestanding (ballasted) systems
use weighted bases instead of penetrating the surface. They are the right call on finished roofs, membrane surfaces, or any area where drilling would damage the structure or void a roofing warranty.
| Factor | Anchored | Freestanding |
|---|---|---|
| Stability | Excellent, direct connection | Good, depends on ballast weight and wind exposure |
| Surface damage | Minor penetration points | None |
| Setup speed | Fast with clamp-on hardware | Fast, but positioning ballast takes longer |
| Best for | Active construction, decks, framing | Finished roofs, membrane surfaces, short-term work |
| Wind sensitivity | Low | Higher, needs proper ballast calculation |
If you are unsure which category your project falls into, ask a simple question: is the surface finished, and would you have to repair it after removing the railing? If yes, go freestanding. If the structure is still being built, anchored is almost always the better and cheaper option.
Wind and Weather: The Factor Most Guides Ignore
Almost none of the guardrail content available online talks about wind loading, yet it is one of the most common causes of guardrail failure on real job sites. Freestanding, ballasted systems rely entirely on weight and friction to stay upright. A gust across an open rooftop can shift an underweighted base enough to compromise the barrier, especially on systems with long unbroken rail runs that act like a sail.
Before installing a ballasted system, check the manufacturer’s wind exposure chart, not just the base weight. Reputable manufacturers publish tables showing required ballast per linear foot at different wind speeds and exposure categories. If a supplier cannot provide this data, treat that as a warning sign, not a minor omission.
Rain and ice bring a second, quieter risk: they change the friction coefficient under ballasted bases. A system that held steady on a dry, sunny install day can shift after a storm. Crews working in regions with frequent rain or freeze-thaw cycles should inspect ballasted railing after every significant weather event, not just at the start of the shift.
Inspection and Maintenance: What Happens After Installation
Buying compliant railing is only half the job. OSHA expects fall protection equipment to remain in safe working condition throughout its use, and that means routine inspection.
A practical inspection routine should check for:
- Loose connections at clamps, brackets, and base plates
- Bent or dented rails, which can reduce load capacity even without visible cracking
- Corrosion or rust, especially on systems left outdoors for extended periods
- Shifted ballast bases, particularly after wind or heavy equipment traffic nearby
- Missing toeboards or mid-rails removed during work and never replaced
Daily visual checks by the site supervisor and a documented weekly inspection by a competent person catch most problems before they become incidents. Keep a simple log. If an OSHA inspector visits the site, a dated inspection record is one of the fastest ways to demonstrate an active safety program rather than a one-time equipment purchase.
Common Installation Mistakes That Void Compliance
Even good hardware fails when it is installed incorrectly. The most frequent mistakes on real job sites include:
Spacing posts too far apart
Manufacturer specs typically cap post spacing around 6 to 8 feet. Stretching that spacing to save materials weakens the entire run.
Skipping the mid-rail on “short” gaps
If there is no wall or solid structure at least 21 inches high below the top rail, a mid-rail is required, no exceptions.
Mixing incompatible components
Combining brackets and rails from different manufacturers can void the engineered strength ratings, even if the parts physically fit together.
Removing sections for material access and not replacing them immediately
This is one of the leading causes of fall incidents on sites that otherwise had full guardrail coverage.
Placing ballast blocks incorrectly
Ballast needs to sit exactly where the manufacturer specifies. Moving blocks to make room for foot traffic reduces the system’s resistance to tipping.
Training your crew to recognize these five mistakes prevents more incidents than any single piece of hardware.
Renting vs. Buying: A Real Cost Comparison

Most articles on this topic either sell you a system or list OSHA rules. Few walk through the actual financial decision.
Renting makes sense when:
- You have a single project or infrequent need for perimeter protection
- Storage space between jobs is limited
- You want to avoid maintenance and replacement costs
Buying makes sense when:
- You run multiple active sites throughout the year
- You can standardize on one system across crews, which simplifies training
- The total rental cost over 12 to 18 months would exceed the purchase price
A rough industry benchmark: if you would need a guardrail system for more than four separate jobs per year, ownership usually pays for itself within 18 months once you account for rental fees, delivery charges, and the labor cost of repeatedly training crews on a different rented system each time. Standardizing on one owned system also reduces installation errors, since your crew learns one set of components instead of relearning a new rental unit on every job.
Choosing the Right System for Your Site
Work through these questions before you order:
What is the surface?
Concrete, wood framing, and steel each require different bracket types.
Is the surface finished or under construction?
This determines anchored vs. freestanding.
What is the wind exposure?
Open rooftops need ballast calculations, not guesswork.
How often will the system move between locations?
Frequent relocation favors lightweight, clamp-on hardware over heavy ballasted bases.
Who is installing it?
Systems that require specialty tools slow down crews and increase the temptation to skip steps.
Frequently Asked Questions
What height is required for temporary guardrails?
OSHA requires the top rail to sit between 39 and 45 inches above the working surface, and it cannot deflect below 39 inches under a 200-pound force test.
Do I need a mid-rail if there’s already a low wall?
Only if that wall or equivalent structure is at least 21 inches high. Below that, a mid-rail or equivalent barrier is required.
Can I use wood for temporary guardrails?
Yes, wood 2×4 top and mid-rails are permitted as long as the completed system meets the strength requirements. Many hardware systems are engineered specifically to pair with dimensional lumber.
How far apart can guardrail posts be spaced?
This depends on the manufacturer’s engineering, but most systems cap spacing at 6 to 8 feet. Always follow the specific product’s documentation rather than a general rule of thumb.
Is temporary guardrail the same as a warning line?
No. A warning line marks a boundary and alerts workers to a hazard area but does not physically stop a fall. A guardrail is a physical barrier and satisfies OSHA’s fall protection requirement on its own.
Who is responsible for inspecting guardrails on site?
OSHA expects a “competent person,” someone capable of identifying hazards and authorized to take corrective action, to inspect fall protection systems regularly, not just at initial setup.
Final Thoughts
Temporary construction safety railing is not just a line item to check off a compliance list. It is a physical safeguard that works around the clock, protects everyone who steps onto your site, and reflects how seriously your company treats the people doing the work. Choosing the right system means looking past height specs and price tags to ask about wind ratings, inspection routines, and installation training, the details that actually determine whether a guardrail does its job when it matters most.
If you are evaluating options for an upcoming project, start with the questions in this guide, get the manufacturer’s wind and load data in writing, and build a simple inspection habit into your crew’s routine from day one.
You May Also Like It: